Lordvessel
The Lordvessel allows you to teleport between most bonfires, saving you a lot of time sprinting between bonfires. The item is also used to unlock various endgame areas, including the final boss of the game.
Sen's Fortress
36. Sen's Fortress: Titanite Chunk from first giant, Dark Souls: Remastered
Sen's Fortress, aka the Funhouse, has materials for upgrading the Reinforced Club as well as other useful items. First, let's grab a Titanite Chunk from the giant who opened the gate to Sen's Fortress. Start from the Undead Parish bonfire and dash into the Funhouse and past the Serpent Soldier x 2. Run up the small flight of stairs, turn left, and drop down onto the platform near an entrance to a ladder. Ensure you have a full HP bar before dropping off the ledge. After dropping down, roll into the entrance and turn right to avoid a possible lightning attack from the nearby Prowling Demon. Heal up as necessary. Climb up the ladder and grab a Large Soul of a Proud Knight. Wait a while to see whether a Serpent Soldier follow you up the ladder. Attack an illusory wall to reveal another ladder. Climb the second ladder to meet up with the giant who opened the gate. The giant can be tricky to fight. Equip the Fire Reinforced Club+7, stay behind the giant, get out of the range of his stomps and tantrum attacks, and get in one or more R2. Defeat the giant to collect a Titanite Chunk. Homeward Bone to the Undead Parish bonfire.
37. Sen's Fortress: Large Titanite Shard x 2 & Covetous Gold Serpent Ring, Dark Souls: Remastered
Start from the Undead Parish bonfire again. Enter the gate of the fortress and defeat the Serpent Soldier x 2. Each Serpent Soldier can be parried and riposted. Make your way along the tricky narrow platform guarded by a Serpent Soldier, get past the enemy, and meet up with the Serpent Mage who guards another narrow platform. Use the pressure plate to activate a trap to kill the enemy and grab Large Titanite Shard x 2 from a wooden chest. Rescue Big Hat Logan to follow his quest line, but this is unnecessary to complete your SL1 playthrough. Find Siegmeyer and exhaust his dialogue to follow his quest line, at the end of which you would be rewarded with a Titanite Slab. Next, grab the Covetous Gold Serpent Ring. You will use this item to farm various upgrade materials and consumables. Here are other useful items to grab along the way:
- Soul of a Brave Warrior
- Soul of a Hero
- Ring of Steel Protection
- Divine Blessing
- Rare Ring of Sacrifice. In a wooden chest located next to the chest containing the Divine Blessing. Both chests are protected by Undead Prince Ricard. You will need the ring during your first encounter with Seath the Scaleless.
38. SL1 Sen's Fortress: farm for Symbol of Avarice, Dark Souls: Remastered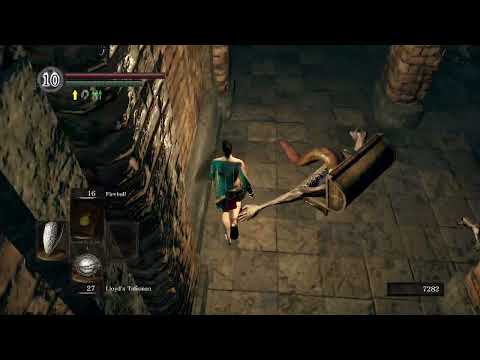
A Mimic is located near where you grab the Covetous Gold Serpent Ring. Use this Mimic to farm for the Symbol of Avarice. The farming works as follows. Equip the Covetous Gold Serpent Ring, a few Lloyd's Talismans, and have 10 soft Humanities in your Humanities counter. Your Item Discovery should be at 410. Position your character near the Mimic, quit the game, and make a backup of your save file. Load the game, throw a Lloyd's Talisman at the Mimic to make it sleep and open its mouth. If you are lucky the Mimic would drop the Symbol of Avarice. Otherwise, use your character's fist to punch the Mimic to wake it up and throw another Lloyd's Talisman to make it sleep again. Wait for the mouth to open and the Mimic might drop the Symbol of Avarice. Rinse and repeat until you get the Symbol of Avarice. Position your character behind the Mimic prior to punching it. Doing so would give you plenty of time to throw a Lloyd's Talisman at the Mimic as it stands up. You might run out of Lloyd's Talisman, in which case use your backup save file. Make your way up to the top of Sen's Fortress and light its bonfire.
39. Sen's Fortress: Titanite Chunk from second giant, Dark Souls: Remastered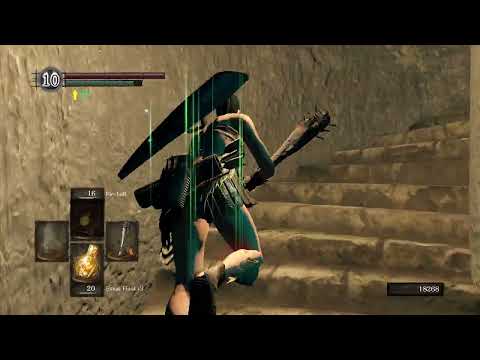
Start from the Sen's Fortress bonfire and meet up with the giant who throws giant firebombs at you. Defeat the giant for two reasons. First, he would not be able to throw firebombs at you while you fight the area boss. Second, the giant drops a Titanite Chunk, which will be used to upgrade the Reinforced Club.
Iron Golem
40. SL1 Iron Golem, Dark Souls: Remastered
Equip the Red Tearstone Ring and lower your HP enough to trigger the ring's effect. Fighting the Iron Golem is similar to fighting the giants at Sen's Fortress. Run between its legs and position your character behind the boss. Concentrate on hitting one specific leg, does not matter which leg. Deal enough damage to one leg and the boss would fall down. If the boss is positioned near a ledge while it falls down, it would topple over the ledge and fall down to its doom.
Defeat the Iron Golem, interact with the Ring of Light, and be transported to Anor Londo.
Anor Londo
41. Anor Londo: Twinkling Titanite & Blade of the Darkmoon covenant, Dark Souls: Remastered
Start from the Anor Londo bonfire and find your way to the Darkmoon Tomb bonfire. Equip the Darkmoon Seance Ring and the nearby statue of Gwyn would disappear to unlock an optional boss fight. Do not fight this boss yet. Here are some useful items to collect along the way:
- Demon Titanite x 2
- Twinkling Titanite
- Divine Blessing
42. Anor Londo: Occult Club & help Siegmeyer, Dark Souls: Remastered
Navigate to the bonfire by which Solaire sits. Start from the bonfire, find an illusory wall, and enter a room to collect Havel's set and the Occult Club. The Occult Club deals extra damage against Gwyn, Gwyndolin, and Ornstein (both phases). Now find Siegmeyer and advance his quest line. Exhaust his dialogue, open a nearby door, defeat Silver Knight x 3 inside the room, and exhaust Siegmeyer's dialogue again. Collect these items along the way:
- Sunlight Medal x 3. In a chest near the bonfire where Solaire sits. The chest is guarded by a spear-wielding Silver Knight. You can ignore this treasure, provided you have ready received a Sunlight Medal from Lautrec. One Sunlight Medal is required to trade with Snuggly for a White Titanite Chunk.
- Soul of a Hero
- Demon Titanite x 2
43. SL1 Anor Londo: farm for Titanite Chunks, Dark Souls: Remastered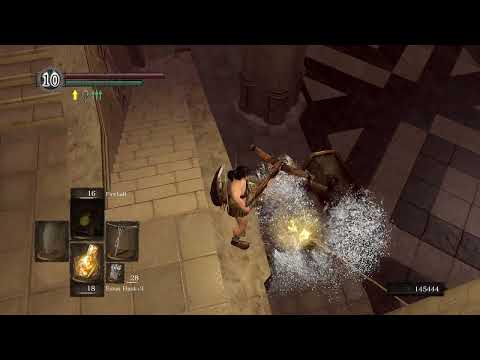
The area in front of the boss arena has Royal Sentinel x 2 who drop Titanite Chunks. Before you have access to unflooded New Londo Ruins, these two enemies provide the best source of Titanite Chunks. Summon Solaire to help you farm the upgrade material. Titanite Chunks can also be farmed in New Londo Ruins, but only after you have the Lordvessel and released the flood gate. Find the Giant Blacksmith and use his services to upgrade a Reinforced Club along the lightning path to +4.
Ornstein and Smough
44. SL1 Ornstein and Smough, Dark Souls: Remastered
This gank boss is one of the more challenging bosses of an SL1 playthrough. Equip the Red Tearstone Ring and trigger its effect. Equip the Lightning Reinforced Club+4 and the Fire Reinforced Club+7. In phase one, two-hand the Fire Reinforced Club+7 and focus on dealing damage to Ornstein. R2 x 3 should be enough to defeat him. In phase two, use the Lightning Reinforced Club+4 to fight Smough. You can generally roll diagonally left into his horizontal swing attack to position your character behind him, and get in an R2. Use the various pillars to block his charging/running attack. As he starts to perform a jumping attack, if you are close enough to him you can dash towards him and he would jump over your character and the attack would miss. Use the opportunity to get in an R2.
Defeat Ornstein and Smough, ride one of the elevators up, and enter Gwynevere's room. Exhaust her dialogue and receive the Lordvessel. You are now able to warp between most bonfires.