Mad Warrior Mask
The Mad Warrior is an NPC red phantom who randomly spawns at Belfry Sol and, upon defeat, has a small chance to drop the Mad Warrior Mask. When equipped, the Mad Warrior Mask adds two points to your Adaptability. Equipping the mask together with the Peasant set and the Handmaid's Ladle should bring your Adaptability to 16. You must be a member of the Bell Keepers covenant as a prerequisite for the Mad Warrior to spawn. Farming the Mad Warrior is made easier by using the miracle Unveil. Two requirements must be met for you to cast Unveil.
- You must have at least one Attunement slot, but as an SL1 character you currently have no Attunement slots at all. This is easily remedied by equipping the Southern Ritual Band+1, found at Brightstone Cove Tseldora. The +0 version of the ring can be collected after defeating the Belfry Gargoyles. However, it's easier to collect the +1 version.
- Your Faith must be at least 13. You already have the Peasant Hat, which adds two points to your Faith. All you need now is the Ring of Prayer, which can be purchased from Licia for 28,000 souls. The ring adds five points to your Faith. Equipping the Peasant Hat and the Ring of Prayer should therefore bring your Faith to 13, just enough to allow you to cast Unveil.
Majula
How to get Ring of Prayer, Dark Souls 2: SotFS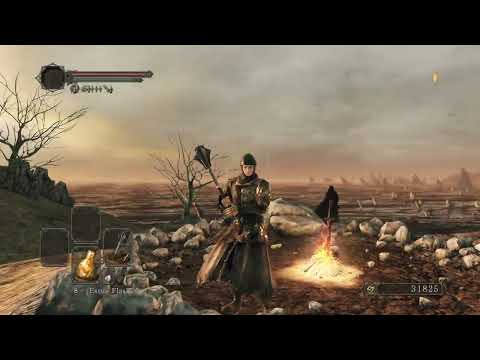
Proceed to the Rotunda at Majula to find Licia. Have at least 28,000 souls to purchase the Ring of Prayer from her. A chime is required for casting miracles. Purchase the Cleric's Sacred Chime for 1,400 souls.
Brightstone Cove Tseldora
Location of the Southern Ritual Band+1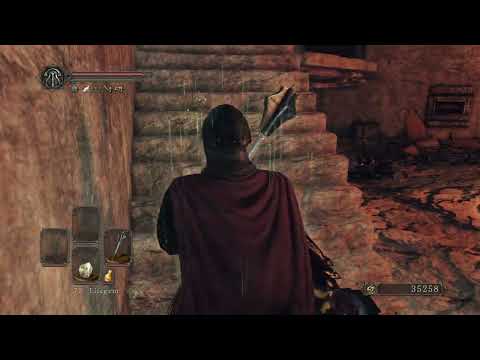
Collect the Southern Ritual Band+1.
Lost Bastille
How to cast Unveil at SL1, Dark Souls 2: SotFS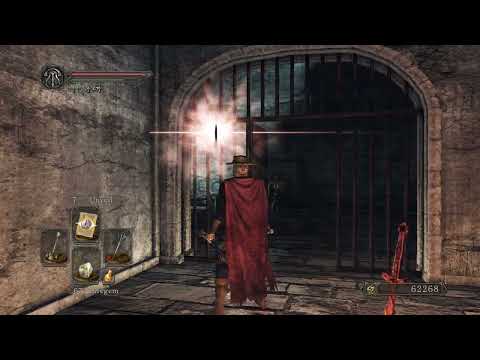
How to get the Bracing Knuckle Ring
Have a Fragrant Branch of Yore in your inventory. Unpetrify Straid and purchase the miracle Unveil from him for 2,200 souls. Since you're at the Lost Bastille, you might want to grab the Bracing Knuckle Ring. While equipped, the ring would slow the degradation of your armour pieces, rings, and weapons.
Iron Keep
Iron Keep: Life Ring+1 and Large Titanite Shard x 2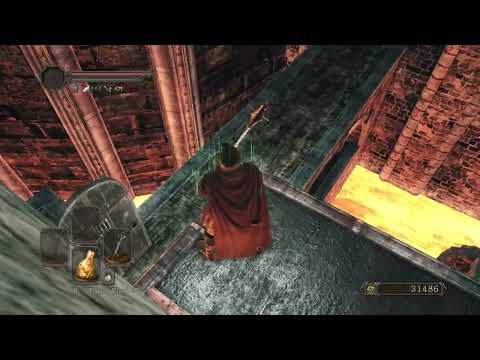
There isn't any item worth collecting in the area before the Smelter Demon. For some extra HP, grab the Life Ring+1 from an iron chest near an Alonne Knight Captain. There are also Large Titanite Shard x 2 and a Repair Powder. McDuff already sells an unlimited number of Large Titanite Shards so it's not necessary for you to collect any more Large Titanite Shards. Skip the Smelter Demon for now.
Past the arena of the Smelter Demon, a Crystal Lizard can be found near an Alonne Knight Captain, who shoots you with a great bow. The lizard can be tricky to kill, but drops a Titanite Chunk upon death. To kill the lizard, step on the pressure plate near where it spawns and a stream of lava would gush out. Rest at a bonfire, proceed to kill the Alonne Knight Captain using the Light Crossbow and bolts, then drop down and approach the lizard from behind. The lizard would dash towards the stream of lava, thus roasting itself.
Iron Keep: Iron Key, Titanite Shard x 5, and Lightning Short Bow+1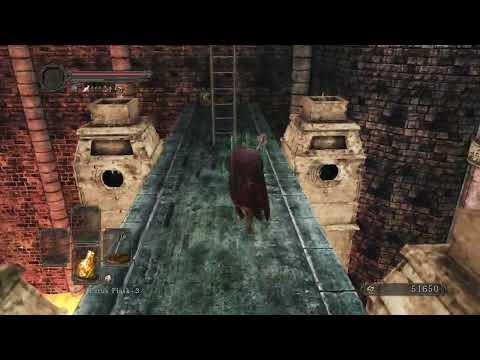
Underneath the Eygil's Idol bonfire is a corpse from which you can loot the Lightning Short Bow+1. Equipping Cale's Helm and the Work Hook would allow you to two-hand the bow. Later on in the game, you would acquire the Dexterity Ring which allows you to equip the Handmaid's Ladle in the left hand and two-hand a Short Bow. Being able to properly two-hand the Short Bow is important for three reasons. First, the Short Bow has a longer range than the Light Crossbow. Second, all arrows now deal their expected damage output. Third, you can now properly use Poison Arrows. Previously it would take many Poison Arrows to poison an enemy because you were not able to properly wield a bow, but now you don't require as many Poison Arrows.
Above the Eygil's Idol bonfire is a lever. Pull the lever to extinguish the fire breath from various bull heads. You must pull the lever to make it safe to collect the Iron Key in front of the very first bull head you encountered at Iron Keep. The Iron Key is used to unlock a door near the arena where you fought the Last Giant.
Apart from the Iron Key, there is nothing else worth collecting in the area after the Smelter Demon. Note that Chloanne still doesn't sell any more Titanite Shards. You might find it useful to collect Titanite Shard x 5 at the very top tower where Alonne Knight Captain x 3 are located.
Clear enemies near Belfry Sol Approach bonfire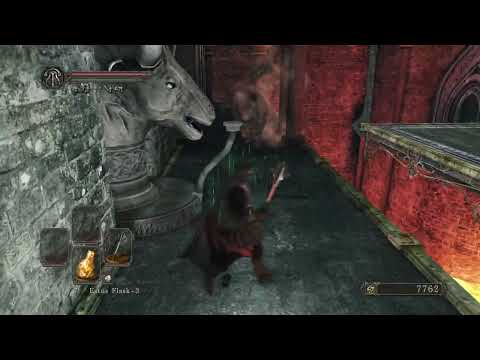
How to play Dark Souls 2 SotFS offline
SL1 How to farm for the Mad Warrior Mask
Now farm the Mad Warrior for the Mad Warrior Mask. First, kill all enemies at Belfry Sol over and over again until they stop re-spawning. Do the same for enemies near the Belfry Sol Approach bonfire. Join the Bell Keepers covenant and ensure you are playing offline. Equip the Peasant Hat, Southern Ritual Band+1, and Ring of Prayer. Attune the Unveil miracle and use the Cleric's Sacred Chime to cast the miracle. When Unveil is cast, an eye-shaped light would move straight up if the Mad Warrior doesn't spawn. Rest at the Belry Sol Approach bonfire and try again. In case the Mad Warrior does indeed spawn, the eye-shaped light would move in an L-shaped trajectory. Climb the ladder to Belfry Sol, summon Drifter Swordsman Aidel, and gank the Mad Warrior. To increase your chance of the Mad Warrior dropping the mask, equip the Prisoner's Tatters, the Covetous Gold Serpent Ring+1, and the Watchdragon Parma. Pop a Rusted Coin if you have any.